 E!
E!The latest trend in beauty confirms that bigger really is better. Gone are the days of tweezing and minimizing your eyebrows, ladies! Thin brows are out and now we are bringing out the bushiness!
Distinct brows are making a comeback in a very big way. Paying homage to stars such as Brooke Shields and Cindy Crawford, celebrities like Cara Delevingne and Lily Collins have put this look back on the map and now women are trying to recreate their signature style any way that they can!
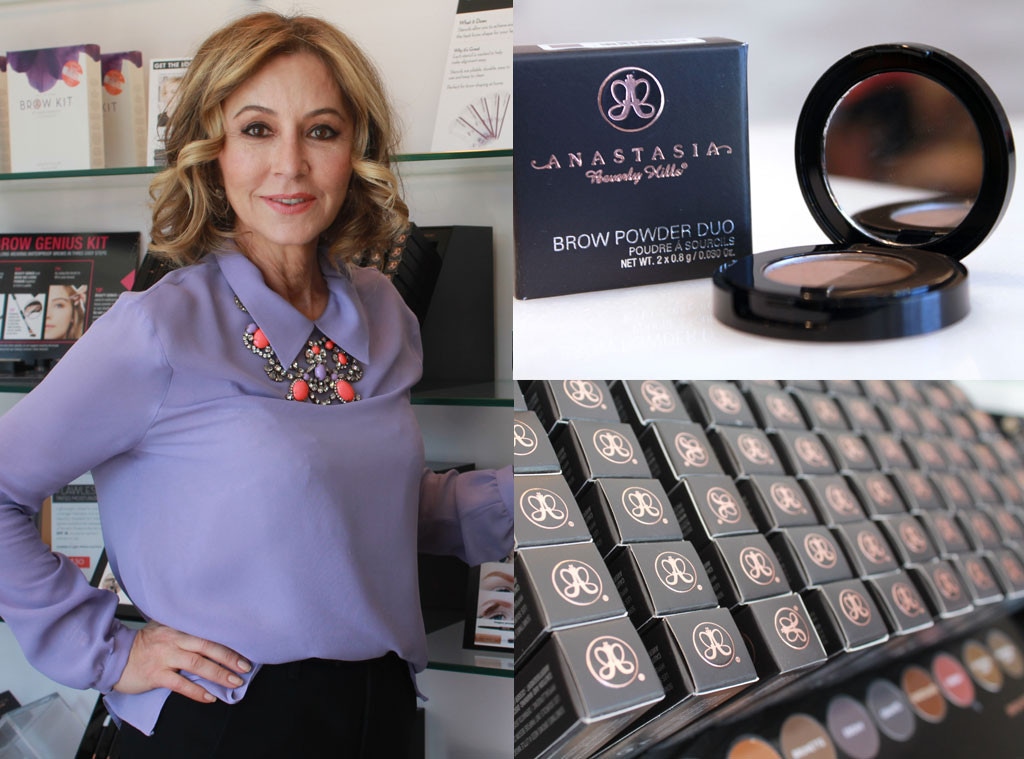
When we wanted to learn how to create the perfect brow, we knew exactly who we wanted to talk to! Eyebrow expert to the stars Anastasia Soare has been in business over 25 years and worked with stars such as Madonna, Sharon Stone and Jennifer Lopez.
As if her clientele isn't A-list enough, she has been doing Oprah's eyebrows for over 10 years now. Yes, the Oprah. She has been shaping this trend (literally) since before it even hit the runway!
We stopped by Anastasia's salon in Brentwood to get a step-by-step tutorial on how to create the best eyebrows in the comfort of your own home! Here's a hint: It's all about "The Golden Ratio."
1. Assess Your Brow. "The most important thing to know is the shape of your natural eyebrow. Balance and proportion are what the human eye perceives as beautiful. In order to make sure that my clients have the absolute best eyebrows given their face shape, I have created The Golden Ratio.
To measure the starting and ending points of the brow, simply take the brow brush and align it vertically from the middle of the nostril to the brow bone. This is the starting point of your brow.
Then take the brush and align it from the tip of your nose through the center of the iris and onto the brow bone. This is the highest point of your brow arch.
Finally, hold the brush from the corner of your nostril to the outside corner of the eye and onto the brow bone. This is where your brow should end. After I have all three points, I know how to align my stencil."
2. Follow Your Guideline. "Once you have the correct stencil based off of your eyebrow assessment, it is time it fill in! There are many different ways to fill in eyebrows, but my current favorite product is my new dipbrow pomade.
Once your pomade is set, blend it with an eyebrow brush to ensure precision application. Small strokes are key in order to properly blend the color into your brow while still looking natural."
3. Tweeze and Color, But Be Careful! "Once you have the base set, you can then tweeze the excess hairs that fall outside of your guideline. The biggest issues I see with women doing their own eyebrows today is over tweezing!
Most women don't have a set guideline, so they begin to tweeze a little off from each side. They don't realize that just two to four hairs can make a serious difference for the frame of your face!
To really make a drastic impact, once you are finished tweezing, create an outline over your freshly stenciled shape and arch with a matching colored powder."
4. Set! "You should always set your freshly formed eyebrows with a brow gel that is either clear or tinted. This will confirm that your brows are waterproof and sure to last all day!
Here's a tip: If you have lighter hair, you should always make your brows one shade darker, so a tinted gel is preferred. If you have dark hair, to make sure that the darkness doesn't overpower the frame of your face, you should go one shade lighter or stick with a clear gel!"
To get the products that Anastasia used on our model today and to check out her brand new pro line, check out her website.
Show us your brows, ladies! Are you going big, bold and beautiful? Tag us at #Fabulist!